Oh, the good, the bad, and the ugly. Portrait drawing can be the most nerve-wracking art assignment. The features always look a bit wonky, it never looks like the person you are trying to draw, and it can be embarrassing to have to show it off to other kids in class. Though portrait drawing is a challenge, following a simple mathematical formula can greatly improve the outcome.
In this lesson, students will learn the basic structure of all human faces. Using this guideline, they will draw the portrait of a parent in class. The focus is learning the structure, not creating a perfect likeness of the subject.
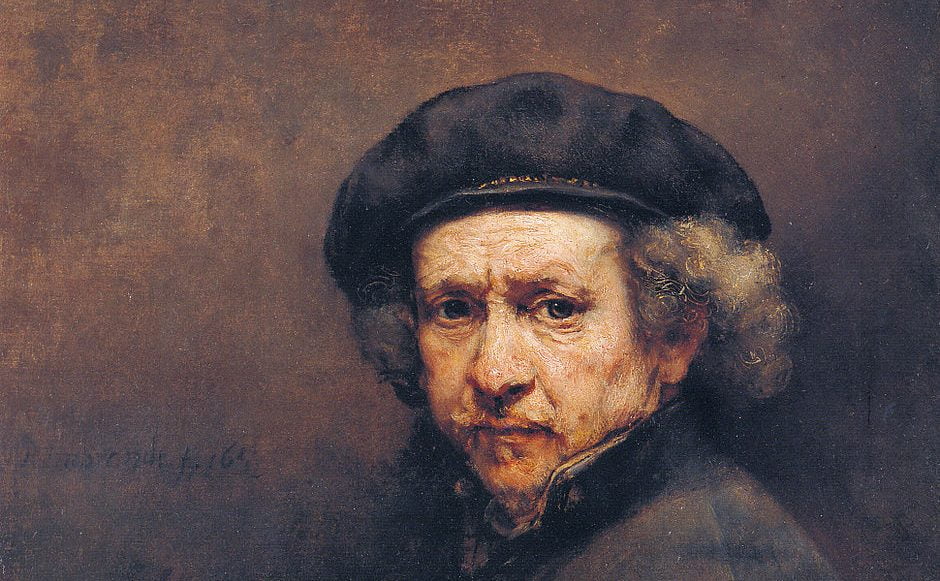
The famous artist tied in with this lesson is Rembrandt van Rijn. A famous Dutch painter of the 1600s, he painted landscapes, biblical scenes, portraits and self-portraits. To begin the lesson, give an introduction to Rembrandt and his work, then dive into drawing your own portrait.
Materials:
Images of portraits by Rembrandt
paper
pencils
drawing paper
lamp/strong light source
Whiteboard/dry-erase marker or large paper and marker
The biggest snag to this project is students drawing basic facial features without ever looking at the model. Believe me, all the students will quickly begin to draw eyes, ears, and a nose without ever once looking up at the person sitting in front of them. YOU MUST NOT ALLOW THIS. Good drawing comes with good observation. Lay down your expectations in the beginning and make sure that students take their time. Whether four years old or fifteen, teach the kids to observe what they see.
Click here for the Cycle 2 Week 13-Portraits PDF lesson plan.
Gallery of student work

Age 3
Leave a Reply