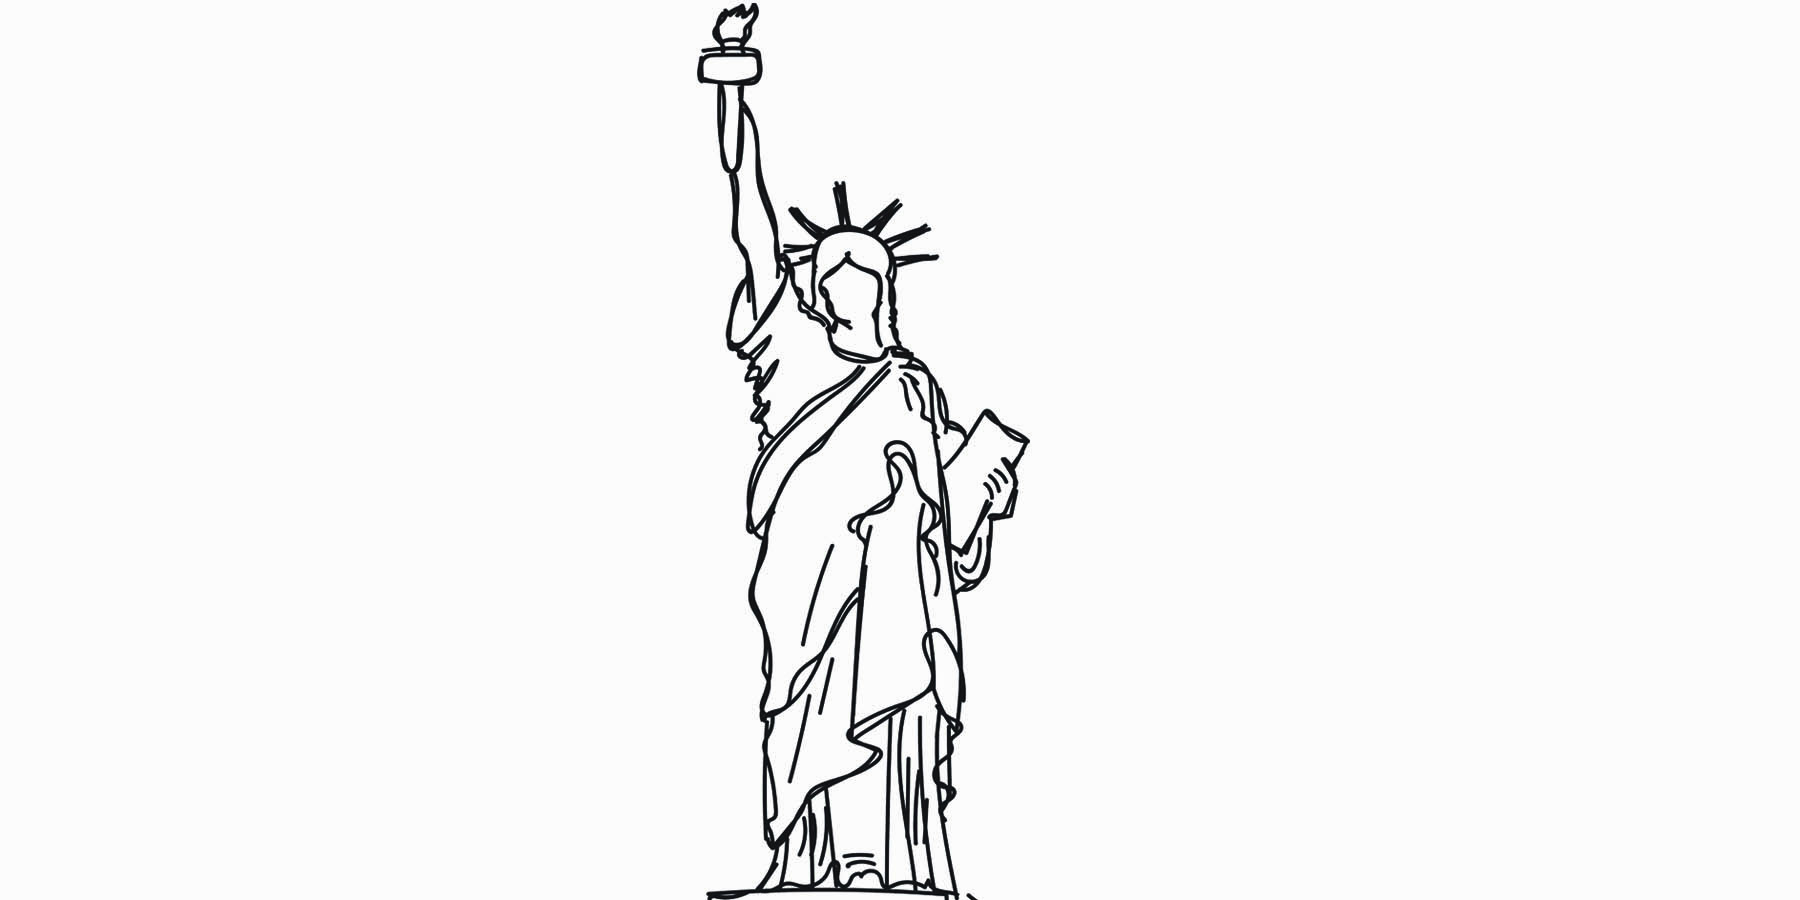
Cycle 3 Week 3- Statue of Liberty (upside down drawing)

When I practiced this lesson with my own kids, it made me laugh because they begged for me to to turn the image right-side up for them to draw it.  Something about an upside-down drawing drives kids nuts.  Its hard to shut off the part of the brain that wants to see an image and to just let the lines be lines.  I tried to explain to my kids the whole point of the exercise.  As we draw, we need to simplify everything to OiLS (remember week 1?) and not even think about the subject matter.  Upside-down drawings train us to do just that.  Unfortunately, my kids didn’t care about the reasoning, and we even had to deal with some tears before the drawing was finished.  Art is hard, people.

I chose the Statue of Liberty because of the loose, imperfect drape of her robes.  I tried to create a drawing that appears almost abstract, only becoming recognizable towards the top when adding the head and arm.  Hopefully this encourages students to focus on the lines and not the subject matter.  Even if they do recognize it as they draw, the point of the exercise remains the same- study what you see.  Don’t draw the Statue of Liberty from inside your head, draw the upside-down one you see in front of you.

Continue Reading →

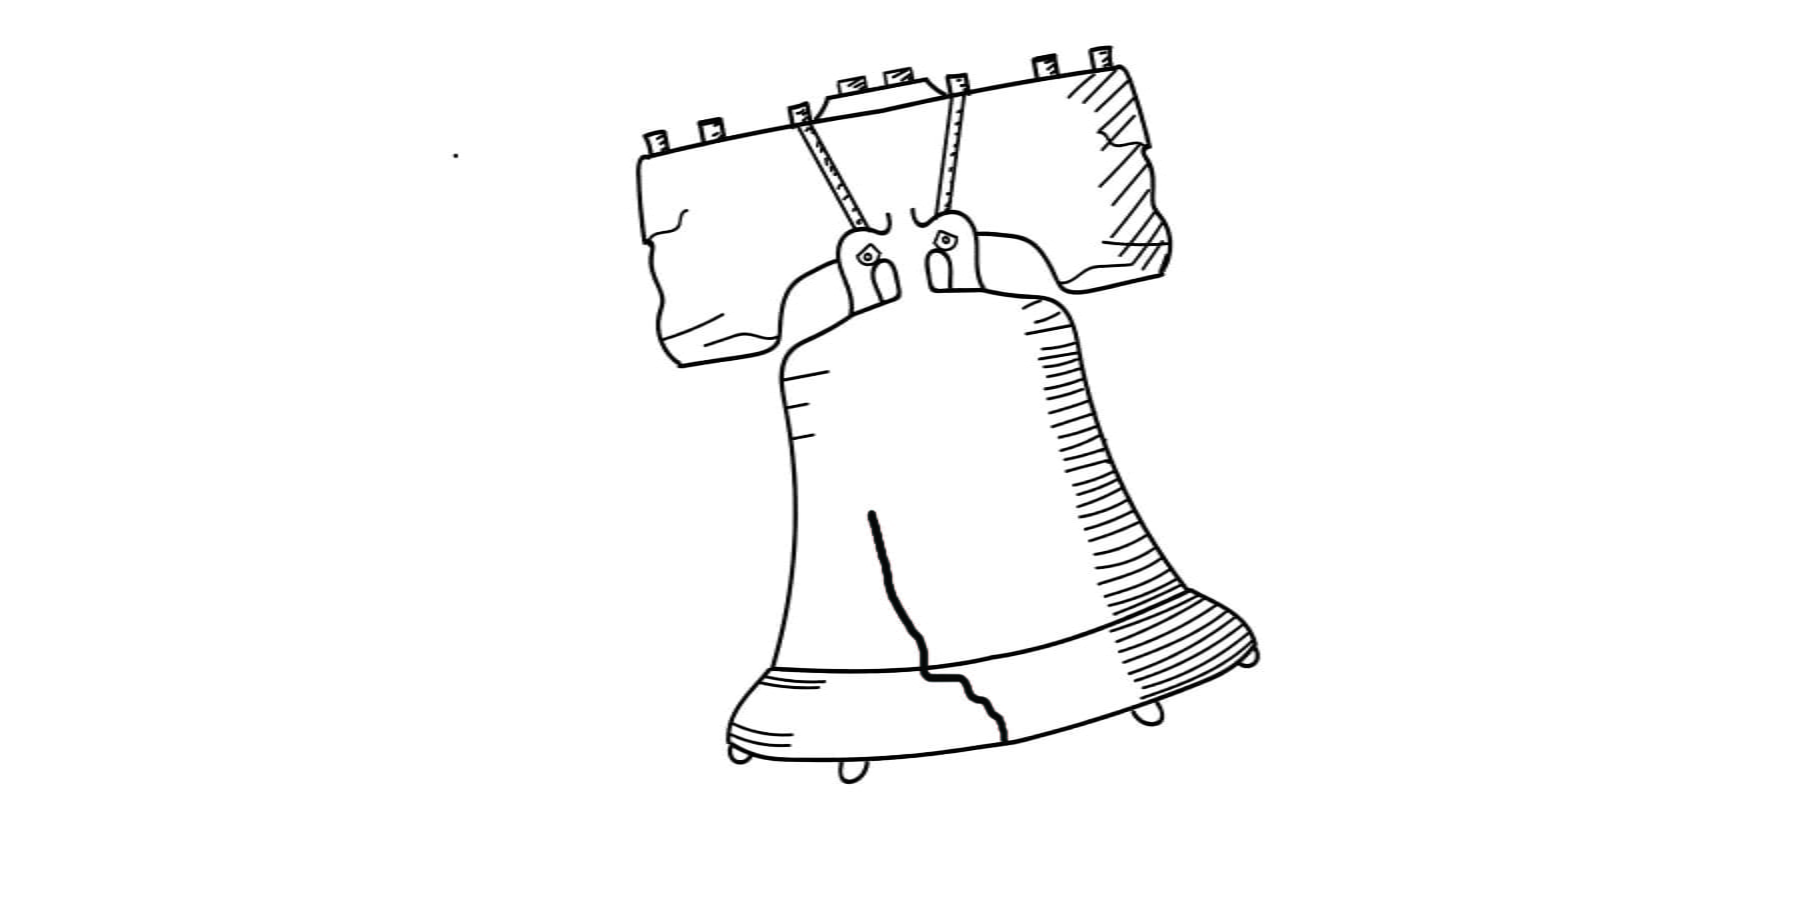
Cycle 3 Week 2- Liberty Bell (Mirror Image)

My dad is a huge early American history enthusiast, so I am extra excited to study this year’s curriculum.  The next five lessons include symbols and landmarks of the United States, and we’ll start off with the Liberty Bell.  Originally named the State House bell, this iconic piece hung in the Pennsylvania State House, which is now called Independence Hall.  Inscribed on the bell are the words “Proclaim Liberty Throughout All the Land Unto All the Inhabitants thereof.”  Wonderfully, these words are from Leviticus 25:10, and have been a symbolic statement of freedom for our nation throughout our history.

We will be using the Liberty Bell to practice a mirror-image drawing.  Below you will find lesson plans and video tutorials for ages 4-6, 7-9, and 10-11.  These age groupings are general, so please use the lesson best suited for your students. Continue Reading →

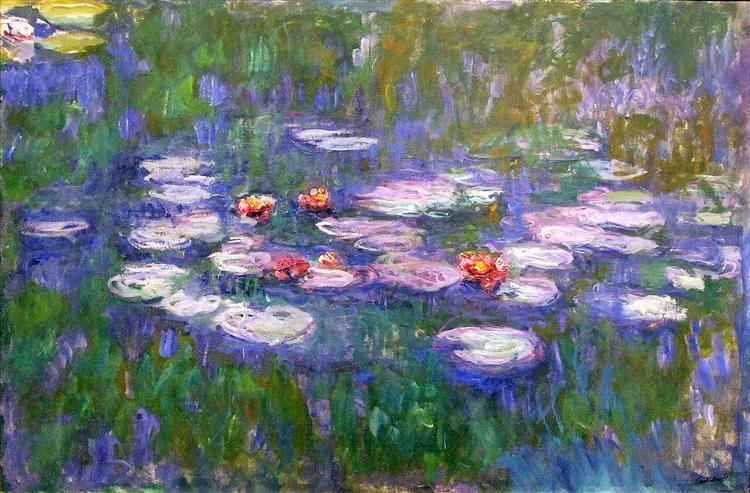
Cycle 2 Week 16- Monet

This week we continue to study Impressionism.  When we think of Impressionism we think of Claude Monet.  And when we think of Claude Monet we think of water lilies, landscapes, and dabbled paint.  This is exactly what we want our students to think of as well.  Hopefully by the time this project is done, they will have a permanent impression of Monet’s work and will be able to recall the imagery and technique of his style.

Not only will they see his style, but they will know what it feels like to paint as he did… with one exception.  Monet usually painted outdoors.  Though the Discovering Great Artists lesson has students painting what they see outside, this is hard to do during winter.  Here it is cold and snowy, with very little color outside.  To compensate for this, my lesson has students experiment by copying parts of Monet’s work, then replicate a painting. Continue Reading →

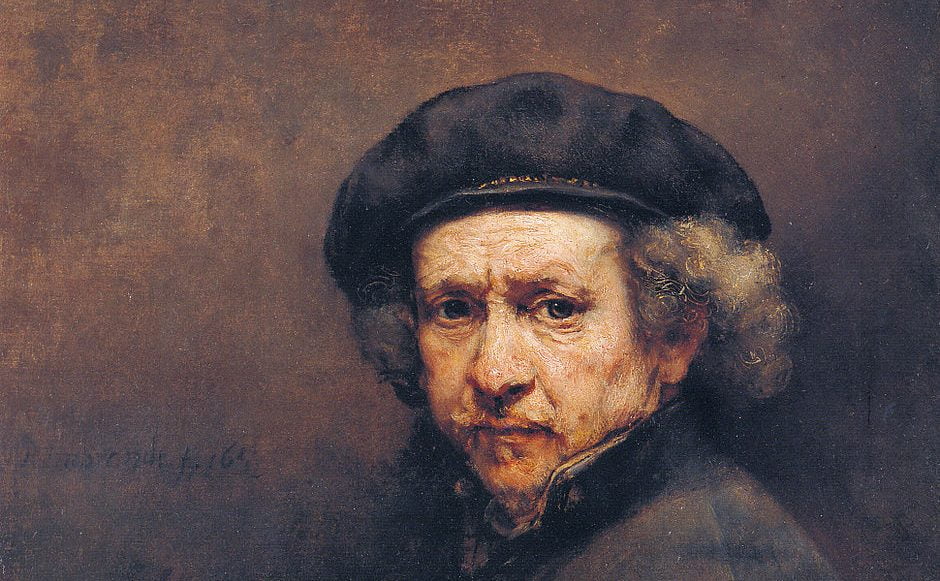
Cycle 2 Week 13- Rembrandt’s Portraits

Oh, the good, the bad, and the ugly.  Portrait drawing can be the most nerve-wracking art assignment.  The features always look a bit wonky, it never looks like the person you are trying to draw, and it can be embarrassing to have to show it off to other kids in class.  Though portrait drawing is a challenge, following a simple mathematical formula can greatly improve the outcome.

In this lesson, students will learn the basic structure of all human faces.  Using this guideline, they will draw the portrait of a parent in class.  The focus is learning the structure, not creating a perfect likeness of the subject.

The famous artist tied in with this lesson is Rembrandt van Rijn.  A famous Dutch painter of the 1600s, he painted landscapes, biblical scenes, portraits and self-portraits.  To begin the lesson, give an introduction to Rembrandt and his work, then dive into drawing your own portrait. Continue Reading →

What is Mealtime Monets?

What is “Mealtime Monets”?  It is the thing that will save your sanity!!!  Ok, I like to exaggerate, but still… it is a tool that will give you free time while your children practice real art skills that relate to Classical Conversations or drawing in general.  I’m calling it “Mealtime Monets” because dinner prep is the time I find I need a bit of space, yet my children (and dog) like to be stealthily right behind me every time I walk to the sink so that I trip over them as I back up.  Or they ask to help make dinner as I’m in a whirlwind panic of pulling the baked chicken out of the oven as I remember that I forgot to make the rice (again).  I do love having my children cook with me, and we do this often, but there are some nights that I’d like to have them occupied while I’m working on it.  And when I realize I’ve screamed “Just go play OUTSIDE!” four times, I need to find an alternative for them to do.

Mealtime Monets are helpful because your kids can sit at the kitchen table and work on the projects while you’re near them in the kitchen.  They like this, of course.  Even if you don’t use the projects near dinner time, they are a good way of keeping kids occupied and engaged in something meaningful while you do something else (like work on math with another kid.  Or have some time by yourself).  They use simple materials and little prep time.  Perfect.


Post Navigation